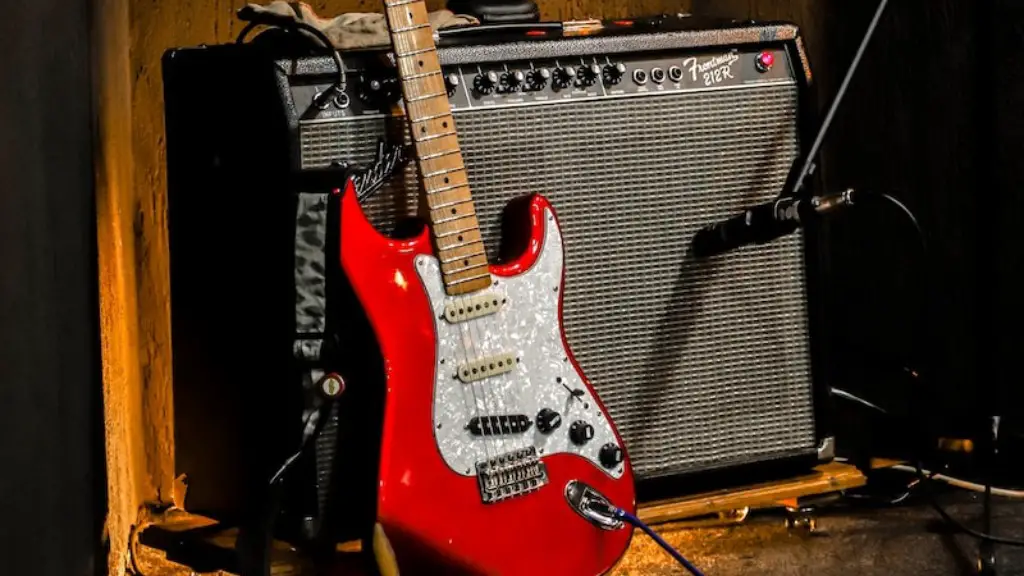
Learning how to wire an electric guitar is a great skill to have if you are planning on doing any modifications or repairs to your instrument. It may seem intimidating, but the basics of wiring are actually quite simple and only require a few tools.
In this article, we will explain the basic steps for wiring an electric guitar, from start to finish. We will cover choosing the right wires and components, soldering correctly, and troubleshooting any issues that may arise. Finally, we will look at some common modifications that can be made to enhance your guitar’s tone.
So let’s get started!
Gather the Necessary Supplies
Wiring an electric guitar requires several essential supplies. It is important to have the right tools, so you can complete the job efficiently. A soldering iron and solder, wire cutters, wire strippers, and electrical tape are all necessary components to wiring an electric guitar. You will also need a Phillips-head screwdriver and a pair of needle-nose pliers to secure wires in place. Other items that could be helpful include a multimeter to test connections and a ruler to measure wire lengths. Lastly, you’ll need some kind of shielding material; aluminum tape or copper foil are both good options.
It is also helpful to have access to a wiring diagram for your guitar specifically as it can be very beneficial when it comes time to troubleshoot any issues that may arise. Once you’ve gathered all of your supplies, you are ready to start wiring your electric guitar!
Prepare the Guitar for Wiring
To wire an electric guitar, it is important to first prepare the guitar properly. Remove the strings and carefully inspect them for any signs of wear or damage. Discard any strings that are showing signs of corrosion, fraying, or other damage. Clean all the hardware on the guitar with a soft cloth to remove any dirt and debris. Remove the pickguard, pickups, and control knobs from their respective positions on the body of the guitar. Make sure to keep track of all parts and screws that come off during this process.
Next, use an ohm meter to test all components of the guitar for continuity. This includes testing each pickup as well as all wiring pathways between each component. If any components fail this test then they need to be replaced with new parts. Once everything is tested and ready for installation, start wiring according to your specific schematic or wiring diagram.
Finally, once all components are wired up properly, reassemble all of the pieces in their proper places on the body of the guitar. Tighten all screws securely and test each component again for proper functioning. After everything is working correctly you can restring your electric guitar and it will be ready for use!
Connect the Pickup Output Jacks
Wiring an electric guitar is an essential part of customizing your setup. It involves connecting the pickups to the output jacks, which can be done in a variety of ways. To start, locate the pickup’s output jack on the pickguard. The jack will be an open circle with two or three terminals inside. Insert one end of a wire into one terminal and attach the other end to a knob or switch on the control plate. This will allow you to adjust your sound as you play. Another option is to connect both ends of the wire directly to two terminals on the output jack itself, bypassing any knobs or switches. This gives you a more basic sound and eliminates any extra noise caused by additional components.
Once all wiring connections have been made, test your guitar by plugging it into an amplifier. If everything is connected correctly, you should hear a clear signal coming through with minimal buzz or hum. If not, double-check all connections before trying again. With some patience and practice, you’ll be able to wire your guitar like a pro!
Connecting Pickups to Volume and Tone Controls
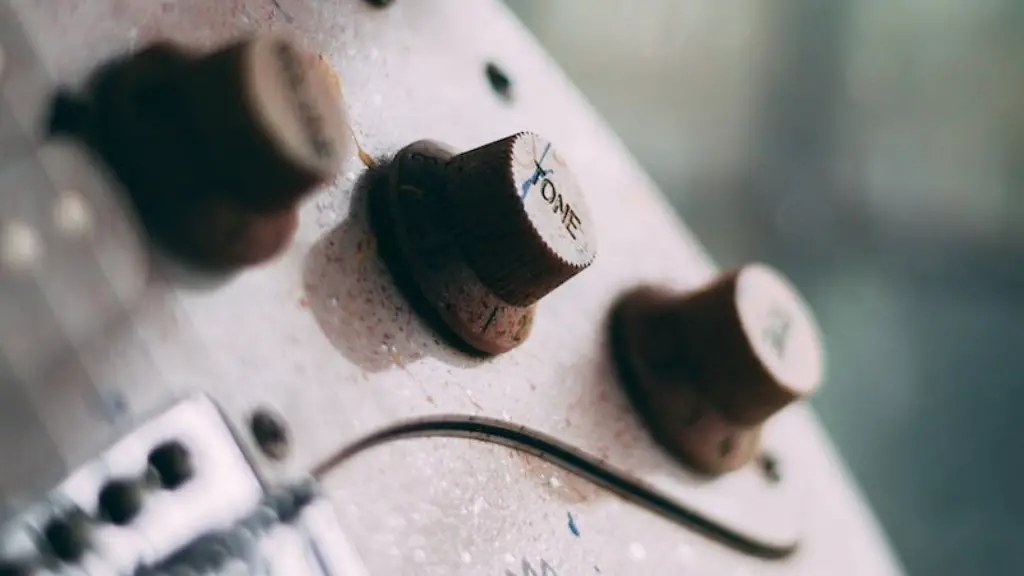
Wiring an electric guitar can seem like an intimidating task, but with a few basic tools and some patience, even a novice can complete the job. The pickups are what convert the vibrations of the strings into sound. To connect them to the volume and tone controls, you’ll need two wires for each pickup. Start by connecting one wire to the ground and the other wire to the output jack. Next, connect each of these wires to the control pots – one wire for the volume pot and another for the tone pot. Finally, solder both wires in place on each control pot and make sure all connections are secure.
Once you’ve connected all of your pickups to their respective pots, it’s time to test out your work. Plug in your guitar and play a few notes – if everything sounds good then you’ve successfully wired up your electric guitar! If not, double check all of your connections until you have a clean signal coming through. Patience is key when it comes to wiring an electric guitar!
Connect Ground Wires and Battery Cable
Connecting ground wires and a battery cable is an important step when wiring an electric guitar. All of the components of the guitar must be properly grounded in order to function properly. This includes pickups, controls, and any other electronics that are part of the instrument. The first step is to connect a wire from the bridge or tailpiece of the guitar to a metal plate or nut on the back of the instrument. This connection provides a path for electrical current to flow from one component to another. The next step is to connect a wire from the metal plate or nut to the output jack and then to a battery clip mounted on the back of the instrument. This will provide power to all components on the guitar.
Once all connections have been made, it’s important to test all components before using them, especially if they are new or have been replaced recently. To do this, turn up all knobs on the guitar and touch each pickup with your finger while strumming strings. If you hear sound coming out of your amplifier, then all connections have been made correctly and your guitar is ready for use!
Solder the Pickups to the Output Jacks
Soldering pickups to the output jacks is an important step in wiring an electric guitar. It is not a difficult process and can be done with basic tools and materials. First, you will need a soldering iron, solder, wire cutters, and wire strippers. You can find these tools at most hardware stores or online. Once you have all of your tools and materials ready, you will need to locate the pickup wires that are connected to the output jack. Cut off any excess wire and then strip away the insulation from both ends of each wire. Next, solder one end of each wire onto the corresponding output jack terminal. Make sure that all connections are secure and properly insulated for safety. Finally, test your connections by plugging in an amplifier and testing each pickup individually.
Once you have successfully soldered your pickups to their respective output jacks, you can move on to other wiring steps such as connecting the pickups together in series or parallel configurations or adding tone controlling components like potentiometers or tone capacitors. With a few practice runs under your belt, soldering pickups should become second nature for any guitar wiring project.
Final Words
Wiring a electric guitar can seem daunting at first, but with the right tools, knowledge and understanding of the job, it can be easily done. It’s important to take your time and make sure all connections are secure and all wires are correctly connected. To ensure the best sound quality, use only quality parts and don’t forget to test your wiring before you finish. With these tips in mind, you should be able to wire your electric guitar with ease.
To sum it all up, wiring an electric guitar requires patience and attention to detail. However, with the right tools, knowledge and understanding of the job, it can be completed successfully. All that’s left is to enjoy the beautiful sound of a newly wired electric guitar!


