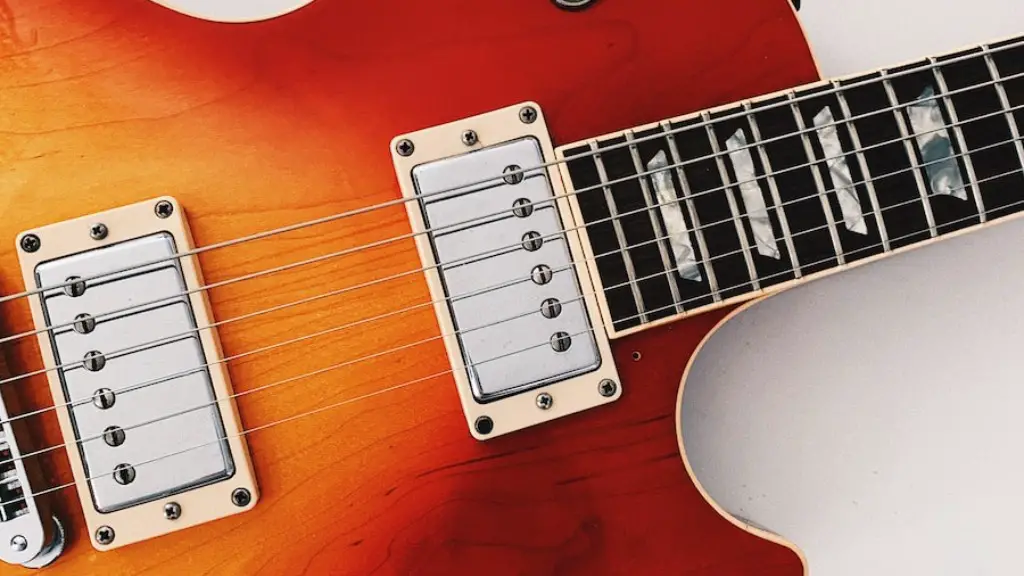
Repainting an electric guitar is a great way to customize your instrument and make it truly your own. Whether you are looking to give your guitar a complete makeover, or just want to touch up some scratches here and there, repainting an electric guitar can be a fun and rewarding project.
This guide will provide you with all the information you need to know about how to repaint an electric guitar. From choosing the right paint, prepping the surface and applying the paint, we’ll walk you through each step of the process so you can have your own custom-painted axe in no time!
Don’t be intimidated – with the right preparation and tools, painting your electric guitar is an achievable goal. So let’s get started!
Gathering Necessary Tools and Materials
Repainting an electric guitar is a great way to customize your instrument, but before you get started there are a few tools and materials you’ll need. For starters, you’ll need some sandpaper to smooth out any imperfections in the wood. You’ll also need primer and paint appropriate for wood, as well as a few brushes and stir sticks. If you want to get really creative, you may also want to pick up some decals or stickers. Finally, make sure you have plenty of clean rags on hand for cleaning up after the project is done.
Once you have all your materials gathered, it’s time to start prepping the guitar for painting!
Removing Old Paint from Electric Guitar
Repainting an electric guitar is a great way to give it a fresh new look. But before you can apply the new paint, you’ll need to remove the old paint. This is a delicate process that requires patience and care, but it can be done.
Start by using a razor blade or putty knife to scrape away any loose or flaking paint from the guitar’s body. Be careful not to scratch the instrument in the process. Next, use fine-grit sandpaper to gently sand away any remaining paint until you have a smooth surface. You can also use a chemical stripper if desired, but be sure to follow all safety instructions for use.
Once all of the old paint has been removed, you’ll need to clean and prep the surface properly before applying primer and new paint. Using a rag and mineral spirits, wipe down the body of the guitar to remove any dirt and debris. Then apply primer evenly with a brush or spray gun, followed by two coats of lacquer and two coats of color if desired.
Allow each coat to dry completely before applying the next one, then finish with several layers of clear coat for protection against scratches and UV damage. With patience and care, you can repaint your electric guitar for a stunning new look!
Sanding and Cleaning the Electric Guitar
If you want to repaint an electric guitar, you must first sand it down. Remove any old paint, dirt, and grime with a sandpaper or fine steel wool. Sand the entire guitar until it is smooth and even. Once you have finished sanding, use a cloth to wipe away any dust or debris from the surface. Use a vacuum cleaner to remove any leftover particles from the instrument.
Once you are done cleaning the electric guitar, use a degreaser to remove any oil residue on the instrument’s surface. This will help ensure that your new paint will adhere properly when applied. After applying the degreaser, use a damp cloth to wipe down the guitar and make sure it is completely dry before beginning to repaint. Finally, be sure to apply primer before painting your electric guitar for best results. For an extra professional finish, consider adding a clear coat of lacquer after painting.
Applying Primer or Base Coat to Electric Guitar
Painting an electric guitar can be a great way to give it a custom look and make it one-of-a-kind. The first step is to apply primer or base coat. It is important to properly clean the guitar before starting this process. Use a lint-free cloth and rubbing alcohol to remove any dirt and dust from the body and neck of the guitar. Be sure to cover the pickups and parts of the guitar that will not be painted, as well as use painter’s tape to cover up any areas that should not receive paint. When ready, use an airbrush or spray gun with a thin primer coat. Apply in thin coats until desired coverage is achieved, allowing each coat to dry completely before adding another. Once complete, you are ready for painting!
Be sure to use light coats when applying primer or base coat, as too much paint can cause dripping or runs on your guitar’s surface.
Adding Color Coats to the Electric Guitar
Giving your electric guitar a fresh coat of color is a great way to make it look new again. It can also be a fun project that will help you express your creativity. Repainting an electric guitar is not as difficult as it may seem, as long as you have the right tools and materials. First, you need to remove all parts of the guitar, such as the strings and pickguard, and prepare the surface by sanding it down with fine-grit sandpaper. Once the surface is smooth and clean, use a primer to give the color coats something to adhere to. After the primer has been applied and dried, choose the color coat of your choice and apply multiple thin coats until you are satisfied with the result. Allow each coat to dry thoroughly before applying additional coats. When finished, reassemble all components of your guitar for an eye-catching look. With a few simple steps, you can transform your electric guitar into something truly unique!
Adding color coats to an electric guitar can be a rewarding experience that will bring new life to an old instrument.
Finishing Off with Top Coat or Clear Coat
Once the new paint job is complete, the next step is to protect it with a top coat or clear coat. A top coat is a layer of clear protective coating that can be applied to the guitar with a brush or spray. It helps to seal in the color and protect it from scratches, moisture, and fading. Clear coats are also available and give the guitar an extra glossy finish. Either type of coating should be applied in thin layers and left to dry completely before each additional layer is added. The number of coats needed depends on the desired result. A light sanding between each coat will help create a smooth final finish.
For a professional look, it’s important to take care when applying these products as too much can cause bubbling or streaks. If you’re unsure how many coats you need, practice on an old piece of wood until you get the desired effect. Once everything is dry, use very fine grit sandpaper to buff out any imperfections and then finish off with a polish for added shine.
The End
To repaint an electric guitar, it is important to choose the right type of paint and primer, as well as a suitable area for the painting process. After preparing the guitar and the workspace, working carefully with a steady hand and multiple layers of paint, you can give your electric guitar an entirely new look. With a few simple steps, you can breathe new life into an old instrument. Cleaning up after each step and allowing enough time for drying will ensure that you have a great looking guitar in no time.


