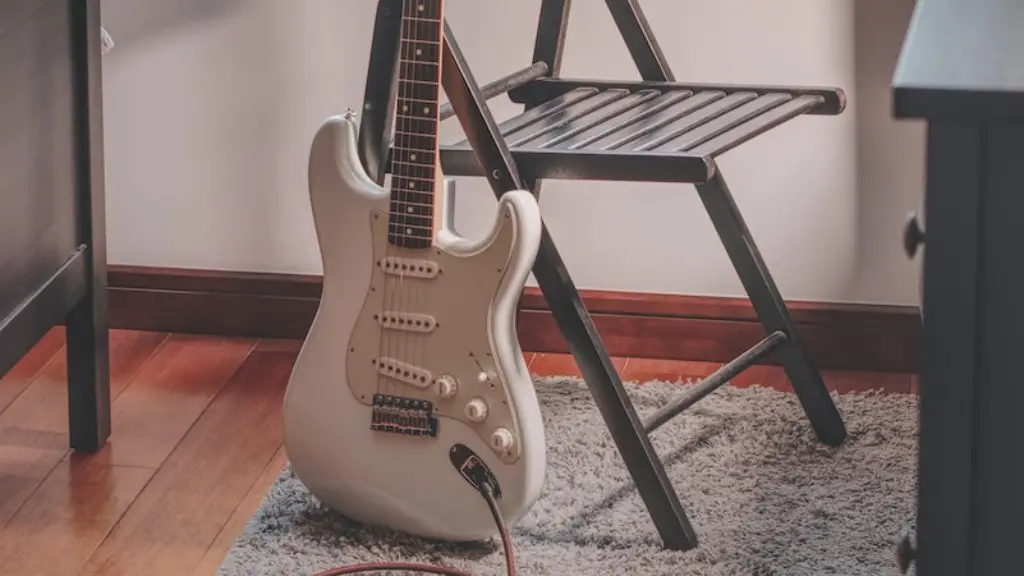
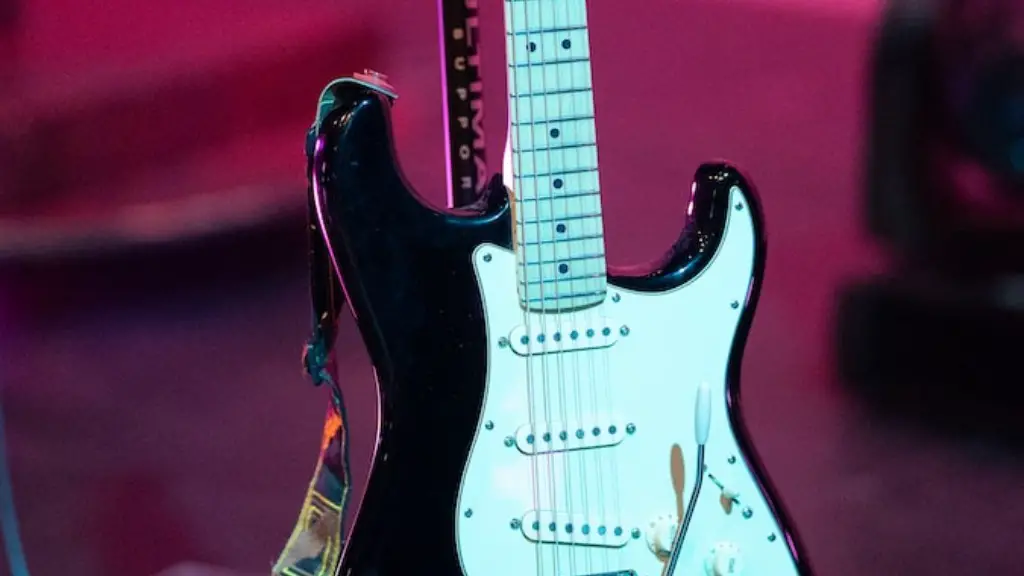
Recording an electric guitar can be an intimidating process if you don’t know what you are doing.
You will need a few basic pieces of equipment like an amplifier, audio interface, and cables. To record electric guitar efficiently, it is important to understand the basics of microphone placement and sound engineering.
First, choose the right microphone for the job. There are many types of microphones suitable for recording electric guitar, such as dynamic or condenser mics. Experiment to find out which one works best with your amp.
Next, you will need to position the microphone in front of the amp. Generally, it should be placed a few inches away from the amp and pointed towards the speaker cone. If your signal sounds too noisy or distorted, try moving the mic further away or make adjustments to your amplifier settings.
Finally, connect your audio interface to your computer and use a digital audio workstation (DAW) software to record your performance. Take time to experiment with different sounds until you get the desired results. With practice, you will be able to produce professional quality recordings.Always remember that practice makes perfect!
Prepare the Recording Space
Recording an electric guitar requires the proper space to capture its sound. For the best recording results, it is important to properly set up the recording environment. Start by choosing a room with enough space for mics and amps. Avoid rooms with excessive reverberation or background noise. If possible, use an iso booth or vocal booth to reduce sound reflection and create a better recording atmosphere. You’ll also need to choose the right type of microphone for your electric guitar. Dynamic mics are often used for capturing guitar riffs, while condenser mics can be used for capturing more intricate details of the guitar’s tone. Finally, make sure you have all the necessary cables and equipment setup before you start recording.
Once everything is in place, you should take some time to adjust the levels of your amp and microphone so that they are balanced properly. This will ensure that you get a clear and precise sound without distortion or feedback when recording your electric guitar. Pay close attention to the sound of your guitar, as this will help you create a better overall mix later on in the production process.
Set Up the Guitar and Amplifier
Before you can begin recording your electric guitar, it is important to make sure that your guitar and amplifier are properly set up. Start by plugging your electric guitar into the amplifier. If you are using a pedal board, connect your guitar to the board first, then the board to the amp. Make sure that all of your cables are properly connected. If you have an effects pedal, make sure it is powered on and connected correctly. Next, adjust the volume and tone knobs on both the guitar and amplifier until you find a sound that is pleasing to your ears. Finally, set the gain on your amplifier so that it does not distort when you strum hard or when playing loud notes.
You may also want to experiment with different settings on your effects pedal or amp for a unique sound. Try changing up the settings until you find something that sounds great! Once you have found a sound that works for you, remember to write down the settings so that you can easily recreate them again later. With everything set up properly, you should be ready to start recording! Be sure to check all of your connections and settings before each recording session.
Adjusting the Levels when Recording an Electric Guitar
Recording an electric guitar can be a tricky process, and ensuring proper levels is one of the most important steps. To start, it’s important to use a direct box to plug the guitar into the recording device. This will provide an even signal that won’t overload your recording device. Once connected, you want to set the gain on your preamp to about 40-50% of its maximum level. After that, you can adjust the output volume of your guitar until you reach a decent level for recording. You should avoid clipping, as this will cause distortion.
When adjusting levels in your DAW (Digital Audio Workstation), try to aim for around -18dB on your peak meters. This should allow plenty of headroom while giving you enough volume to work with in post-production. You may also want to adjust the panning of your tracks if you’re using multiple mics or multiple takes. This will give you greater control over the stereo image and make it easier to mix and master in post-production.
Choose an Appropriate EQ Setting
When recording electric guitar, choosing an appropriate EQ setting is essential. Achieving the desired sound and tone starts with selecting the right frequencies to manipulate. The most common settings are Low (Bass), Mid (Midrange) and High (Treble). Depending on the type of sound you want to achieve, boosting or cutting these three settings will help shape your overall tone. For example, if you want a bright, shimmering sound on your guitar track, start by boosting the high frequencies. Conversely, if you want more of a thick sound, then reduce the high frequencies and boost the low and mid frequencies. Adding a bit of reverb can also help fill out your guitar track. Experimenting with different settings can be time consuming but it’s worth it in order to get the desired sound.
Monitor the Sound Quality
Recording an electric guitar can be tricky, but with the right tools, you can achieve a great sound. When recording an electric guitar, it is important to monitor the sound quality from start to finish. This will ensure that any unwanted noises or feedback do not get recorded. Start by setting up your guitar and amp and making sure all cables are connected properly. Use a high-quality microphone and preamp to capture the true sound of your guitar. Make sure to listen carefully while you are recording, as any flaws in the sound can affect the overall quality of the track. You may want to use a compressor or EQ to bring out certain tones in your recordings. Finally, mix and master your track for a professional-sounding result.
Once you have finished recording, take some time to listen back and adjust levels and effects if necessary. By monitoring the sound quality throughout the process, you can create a great sounding electric guitar recording that will stand out from the rest!
How to Record an Electric Guitar
Recording electric guitar can be a tricky process, but with the right setup it can be done easily. Start by positioning your guitar and amplifier so that you have the best sound quality. Make sure that the microphone is positioned correctly and that you have the right gain settings. When recording, take multiple takes so that you can choose from various takes in post-production. This will allow you to create a fuller, more professional sounding track. Additionally, make sure to keep an eye on your levels and adjust the gain as necessary.
When mixing, it is important to experiment with different frequencies and effects to create a unique sound for your electric guitar. Be sure to use compression when mixing to get the best result as this will help level out any inconsistencies in volume or frequency. Finally, pay attention to details such as panning of tracks and reverb levels as these will all make a difference in how your final track sounds. By taking these steps, you can create a great sounding electric guitar recording!
The End
To record an electric guitar, it is important to understand how the equipment works and how to set it up properly. It is also important to know what kind of sound you are trying to achieve and how to use the recording software. Once you have all of this information, you can begin recording and producing a successful track. By following the steps outlined in this article, you will be able to record a great sounding electric guitar with ease.


