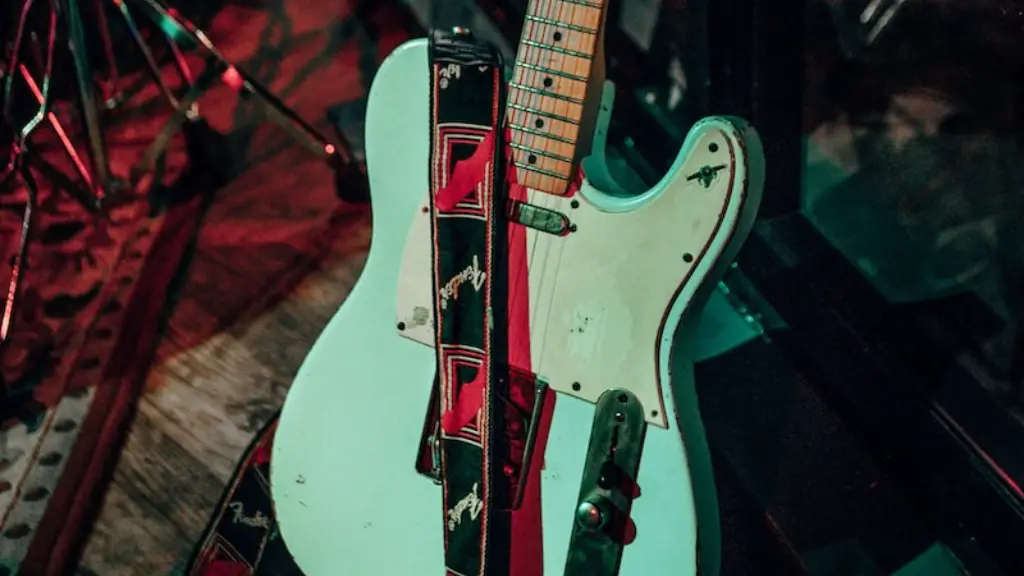
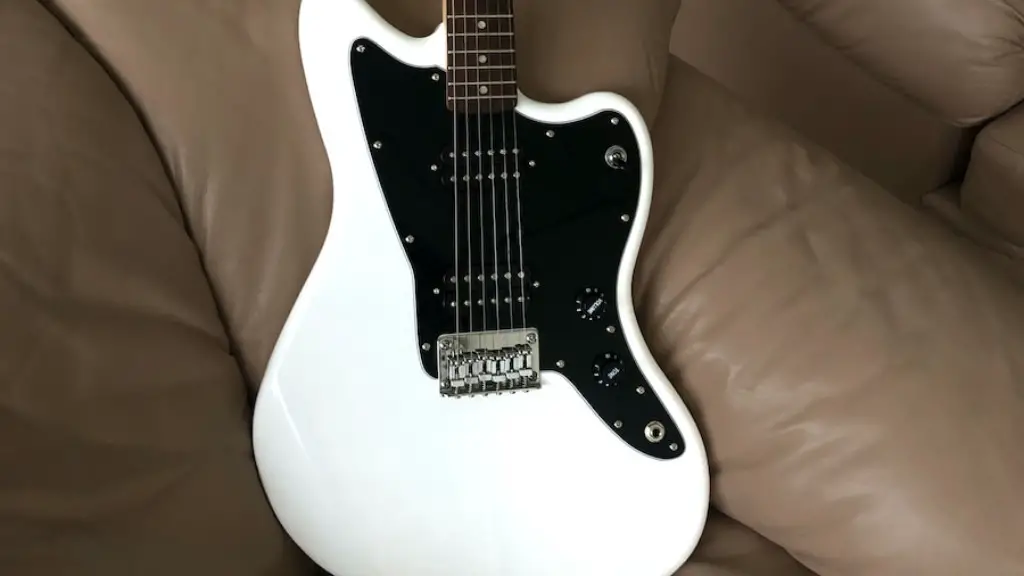
Painting an electric guitar is a great way to customize and personalize your instrument. It’s not difficult to do, but it does take time and effort. This tutorial will show you how to get the job done right. You will need some basic supplies and a few hours of your time. With a little practice, you can create a beautiful, unique guitar that looks like it came from a professional shop!
The first step is to prepare the body of the guitar for painting. This means removing all hardware such as knobs and pickups, sanding the surface of the body, and masking off any areas you don’t want painted. It’s important to take your time here and do a thorough job in order for your finished product to look its best.
Once the body is prepared, you are ready to begin painting. You will need primer, paint, clear coat, and other supplies depending on the type of finish you are going for. Following the instructions on the packaging of your chosen products will ensure a smooth finish.
With patience and practice, you can create an amazing custom electric guitar with a stunning paint job!
Choosing Paint and Supplies for Painting Electric Guitar Body
When painting an electric guitar body, it is important to choose the right paint and supplies. Start by picking a color that matches the style of your guitar. Then, purchase a quality paint that is specifically made for use on guitars. The most common types of paints are water-based, acrylic, and nitrocellulose lacquer. Additionally, make sure to purchase primer if needed and a few brushes or rollers for application. To finish off the project, you may need sandpaper for smoothing the surface after painting and a clear topcoat to protect your work. With the right supplies in hand, you will be ready to start painting your electric guitar body!
Sanding the Guitar Body
Giving your electric guitar body a nice finish is an important part of customizing it. The process begins with sanding, which is essential for making sure that the paint adheres to the surface and creates a smooth, even finish. To begin, use a medium-grit sandpaper to lightly sand the entire body, paying special attention to any areas with blemishes or imperfections. Once you have finished sanding, switch to a finer-grit paper and repeat the same process until you have achieved an even surface.
Next, use a damp cloth to wipe away any dust created by the sanding before applying primer. Make sure you apply multiple coats of primer and let it dry completely in between applications. Once the primer has dried, you can start painting your guitar body using either acrylic or oil-based paints. Be sure to apply multiple coats of paint and let it dry completely between applications for best results. Finally, use a clear coat spray for added durability and shine!
Masking Off Areas Not to be Painted
Painting an electric guitar body can be a daunting task. However, you can achieve a beautiful result if you follow the right steps. One of the most important steps is to mask off any areas that you don’t want painted. This involves using masking tape and paper to cover up parts of the guitar body that should remain unpainted. Use a craft knife or scissors to cut the tape and paper so that it fits snugly around any areas that should not be painted. Make sure to press down firmly on the tape so that it adheres properly. Once all of your masking is done, you are now ready to paint your electric guitar body!
Be sure to take extra care when removing the masking, as it can be very easy to accidentally damage the freshly painted surface with too much force.
Applying Primer Coat
Painting an electric guitar body requires a few steps to ensure the best results. The first step is to apply primer coats. Primer coats protect the guitar’s finish from scratches and other damage, as well as providing a base for the paint to adhere to. To apply primer coats, use a high-quality brush, which should be dampened with water before using it. Starting with one direction, brush the primer on in long smooth strokes and then switch directions for a more even coverage. Allow each coat of primer to dry completely before applying the next, and be sure to cover any areas that have been missed. After all primer coats have been applied, let them dry completely before moving on to painting your electric guitar.
For optimal results when painting an electric guitar body, be sure to follow all these steps carefully and take your time when applying the primer coat so you get even coverage and a professional finish.
Applying Base Coat
Painting the body of an electric guitar is a great way to add costumization and personalize your instrument. Preparing the surface properly is the key to getting a perfect finish. Sand the body of the guitar with fine-grit sandpaper, making sure to remove any imperfections in the wood. Wipe away any dust created from sanding with a damp cloth. Once the surface is smooth, apply two coats of primer, allowing each coat to dry completely before adding a new coat. After primer has dried, begin applying base coats. Choose a light color for this first layer, as it will be covered by subsequent layers of paint. Use thin coats and blend them together to create an even finish. Allow each coat to dry fully between applications and make sure to remove any dust with a clean cloth before moving on to additional layers.
For a truly unique look, experiment with different colors or techniques such as airbrushing or sponging. No matter what method you choose, applying base coats is an important step in achieving a professional-looking result when painting your electric guitar body.
Applying Clear Coats
When painting an electric guitar body, it is important to apply a clear coat in order to make the paint job look professional. Clear coats will help protect the paint and give it a glossy finish. To do this, start by sanding down the surface of the guitar body with very fine-grit sandpaper. Once you’ve sanded it down, clean off any dust and debris with a lint-free cloth. Next, apply a primer coat to the guitar body and let it dry for about 24 hours. Once the primer is dry, you can begin applying your clear coats. Start with a light coat and work your way up to thicker coats. Let each layer of clear coat dry completely before applying the next layer. After you’ve applied several layers of clear coat, let it dry for several days before buffing out any imperfections and giving it a glossy shine.
It’s important to note that the number of clear coats you’ll need will depend on how much paint coverage you want and how much protection you need for your guitar body. Generally speaking, three or four layers should be enough to provide good protection for your electric guitar body.
Final Words
Painting an electric guitar body is a great way to customize it to your own preference. It is important to take proper safety precautions, ensure that the guitar is well-prepared, and use the right type of paint and painting techniques. With the right tools and patience, this project can be completed successfully. Using a custom paint job will help you stand out from the crowd and make your guitar unique. With the right preparation and dedication, you can create a beautiful finish on your electric guitar body.
