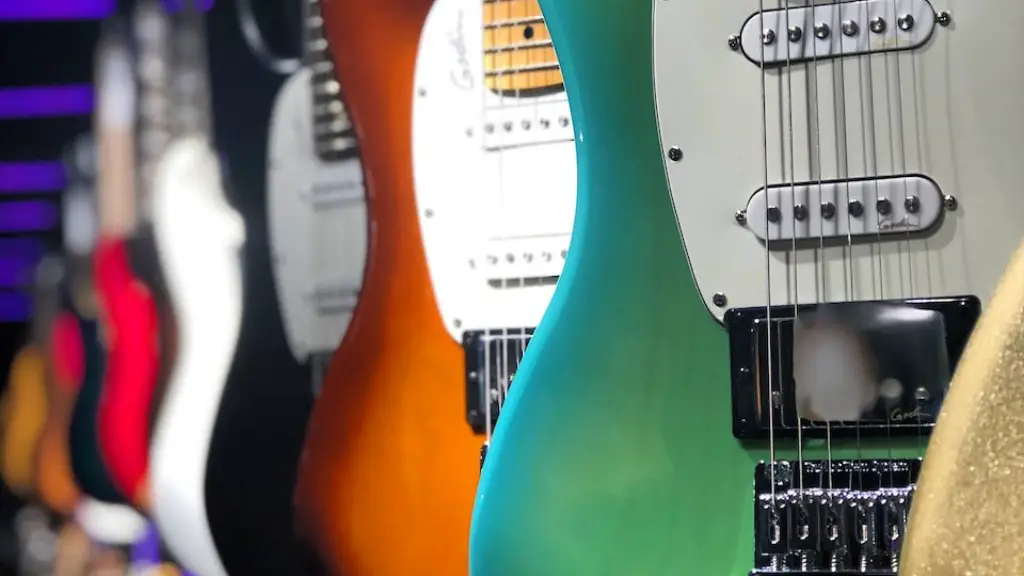
Painting an electric guitar body is a great way to give it a unique look. It’s important to take the time to properly prepare the guitar body before painting so that you get the best results. With a few simple steps, you can make your guitar look amazing.
The first step is to sand down the entire guitar body, removing any imperfections and giving you a smooth surface to paint on. Next, you’ll need to apply primer and allow it to dry before painting. Once dry, use painter’s tape and masking paper to create any designs or shapes on the guitar body that you want.
When it comes time to paint you’ll need quality paint and brushes. Be sure not to rush as it’s important not to get any paint onto areas not meant for painting. After the paint has dried, apply a clear coat of lacquer for protection.
By following these steps, painting an electric guitar body is easy and fun!
How to Paint an Electric Guitar Body
Painting an electric guitar body is a great way to make your instrument stand out from the crowd. When selecting paint for your project, it is important to choose products that will be durable and look great. For a professional finish, choose a high-quality acrylic enamel paint designed for automotive use. This type of paint is designed to be durable and resistant to wear and tear. Additionally, it won’t easily fade or discolor with age. Apply multiple thin coats of paint in order to achieve the best results, allowing each layer to dry completely before adding the next. If you opt for a metallic or pearl finish, use a clear coat over the top of your paint job to protect it and give it a glossy shine.
For a truly unique look, consider using spray paints or vinyl wraps. Spray paints can be used to create custom designs on your guitar body, while wraps are available in many different colors and patterns and can be applied quickly with no mess or fuss. No matter which type of paint you choose, take the time to properly prepare and sand the surface of your guitar for the best results.
Sand and Smooth Out the Surface of an Electric Guitar Body
When painting an electric guitar body, preparation is key. The surface must be sanded and smoothed out before you can begin to paint. Start by sanding the body with fine-grit sandpaper to create a smooth surface and remove any imperfections. Then use a medium-grit sandpaper to further refine the surface. Sand until it’s smooth to the touch, without any rough patches. After you’re done sanding, clean off any dust with a damp cloth and let the guitar body dry completely before applying paint. Remember to wear a mask while sanding, as airborne particles can be hazardous.
When your electric guitar body is prepped and ready, you can start to paint! Be sure to take your time, as a good paint job requires patience and attention to detail.
Mask Off Areas You Don’t Want to Be Painted
Painting an electric guitar body is a great way to add a personal touch to your instrument. To ensure that only the desired areas are painted, it’s important to mask off any areas you don’t want to be painted. Start by protecting the pickups and any hardware on the guitar with painter’s tape. Then, use newspaper or plastic sheeting to cover the neck and other sections of the body that don’t need paint. Finally, use a brush or spray paint for the desired areas of the guitar body. Be sure to allow sufficient time for drying between coats. Once you’re done painting, carefully remove all masking materials and enjoy your custom electric guitar design!
Applying a Primer Coat on an Electric Guitar Body
Painting an electric guitar body is a great way to customize your instrument, but it’s important to do it right. Before you start adding color, you need to apply a primer coat. This will create a smooth surface for the paint to adhere to and protect the body from corrosion. Primer should be applied in thin coats, allowing each layer to dry completely before applying the next. Make sure you cover every area of the body evenly, including the neck and headstock. Once your primer coat is done, it’s time to move on to painting your guitar!
Be sure to use a good quality primer for best results. Avoid using cheap primers as they can often degrade over time, leading to bubbling or cracking of the paint job. Always check with the manufacturer of your guitar for any specific recommendations before starting your project!
Painting an Electric Guitar Body
Painting an electric guitar body is a relatively straightforward process. Start by prepping the body of the guitar, which means making sure it is clean and free of any dust or debris. You can then use a primer to help the paint adhere better. Once the primer has been applied, it’s time to begin painting. Apply thin layers of paint and let each coat dry before adding a new one. Keep going until you achieve the desired color and shade.
You’ll want to make sure you paint in a well-ventilated area, as some paints contain harmful fumes that can be damaging to your health. Take your time with this process and make sure you cover all areas evenly. Let the guitar fully dry before applying any varnish or lacquer for added protection and shine. With patience and care, you can create a beautiful custom finish for your electric guitar!
Allow for Drying Time Between Coats of Paint
Painting an electric guitar body requires patience, creativity and attention to detail. When painting a guitar body, it is important to allow for proper drying time between each coat to ensure a smooth and even finish. This will help prevent any paint from running or pooling in certain areas. If you rush the process, the paint may not adhere correctly and will eventually start to chip or flake off.
To ensure your paint job looks its best, it is important to wait until each coat is completely dry before applying the next. This usually takes anywhere from 4-6 hours depending on temperature and humidity levels in your area. You can test the surface with your hand or a paper towel for any wet spots before continuing. Be sure to use even strokes when applying coats of paint and use light pressure so that the paint does not build up in any areas. If you take your time and follow these steps, you should end up with an amazing custom finish that you can be proud of!
Final Words
Painting an electric guitar body is a great way to customize your instrument. When done correctly, it can make your guitar look like a unique piece of art. To achieve the best results, it is important to properly prepare the surface, select the right paint, and use even strokes. It is also important to have patience and take your time. By following these steps you can give your guitar a unique look that will stand out from all the rest.


