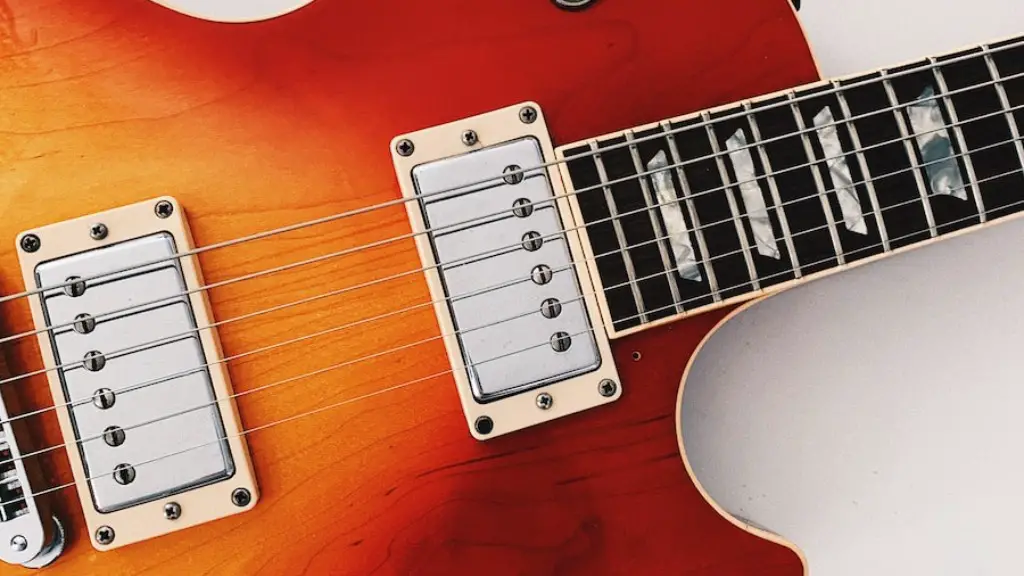
Lowering the action on an electric guitar is one of the most important steps in optimizing your guitar setup. Properly lowered action can help you play faster and cleaner, while also reducing string buzz.
While it’s not recommended to lower your action too much, a slight adjustment can make a big difference in your playing. In this guide, we’ll look at how to lower your action on an electric guitar, as well as what to watch out for when making changes.
It is highly recommended that you bring your guitar to a professional luthier or experienced technician for any major adjustments or repairs. But for minor adjustments, such as lowering your action, you should be able to do it yourself with the right tools and a bit of patience.
Lowering Your Electric Guitar Action
If you’re looking to make playing your electric guitar easier, one of the best ways is to lower the action. Lowering the action on your electric guitar involves adjusting the truss rod and saddle screws. Doing this will ensure that the strings are closer to the fretboard, making it easier to play.
Before you start, it’s important to understand how a truss rod works. The truss rod is a metal bar running inside your guitar neck, and it’s designed to resist pressure from the tension of the strings. To lower your action, you’ll need to loosen the truss rod by turning it counter-clockwise with an Allen key or wrench.
Once you have loosened the truss rod, you can move on to adjusting the saddle screws. The saddle screws are located at either end of each string on your guitar’s bridge plate. To lower your action, you’ll need to turn each screw counter-clockwise until they are flush with their respective slots in the bridge plate.
Keep in mind that adjusting both the truss rod and saddle screws will affect how well your guitar stays in tune. If you want to keep things simple, only adjust one or two strings at a time so that you can still stay in tune while making adjustments. When done correctly, lowering your electric guitar action will make it much more comfortable and enjoyable for playing!
Adjust the Height of Strings at Bridge Saddles
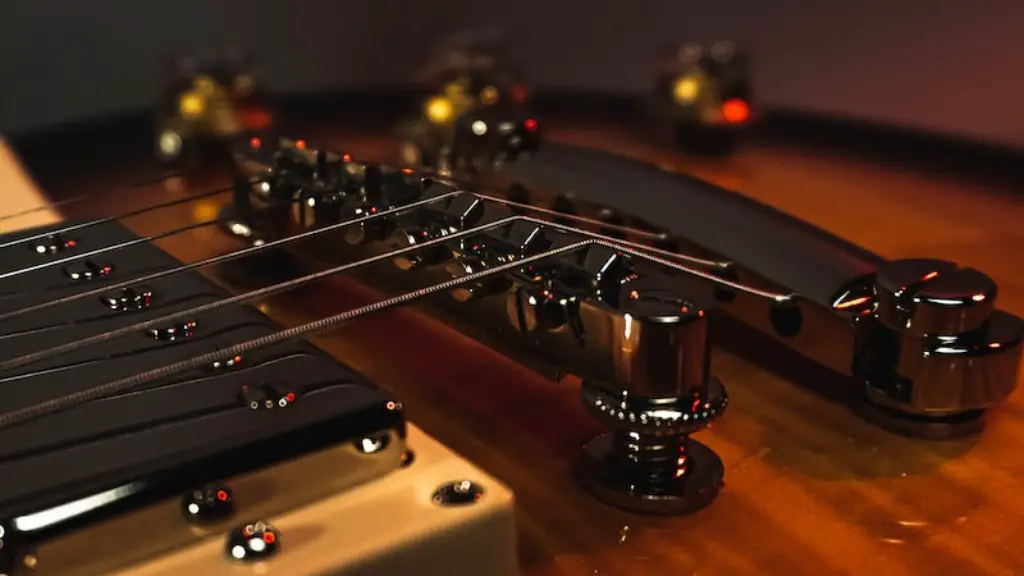
Lowering the action on your electric guitar is an important part of setting up a guitar for optimal playing. Lowering the action helps reduce string buzz, improves intonation, and makes playing chords easier. To achieve this, you’ll need to adjust the height of the strings at the bridge saddles. This can be done by loosening the strings, adjusting the saddle height screws, and then retightening them.
To lower the action on your guitar, turn each saddle’s adjustment screw counterclockwise until it is flush with its respective bridge plate. Then tune each string to pitch and check that they are all even with one another. If not, adjust accordingly until they are level. Once you’ve achieved a level string height across all strings, check for intonation by playing an open chord and comparing it to a fretted note of that same chord at higher frets. If everything sounds good, you’ve successfully lowered your action on your electric guitar!
Lowering Your Action on the Electric Guitar
Adjusting the action on your electric guitar is an important part of achieving optimal playability. Having a low action can give you better control and speed, as well as improved intonation. It also makes playing more comfortable and enjoyable.
To lower your action, you will need to adjust the bridge saddle and nut of your guitar. First, loosen the strings and use an Allen wrench to adjust the screws located at the back of the bridge saddle. Lower them slowly until you reach the desired action height. Next, loosen the strings at either side of the nut, then use a Phillips screwdriver to adjust its height until it’s equal to that of the bridge saddle. Finally, retune your guitar and test it out!
Make sure to check your intonation along with adjusting your action. If it sounds off or doesn’t stay in tune when played high up on the fretboard, further adjustments may be needed or you may need new strings. With patience and practice, you will soon have that low-action guitar sound that allows for smoother playing!
Lowering Action on the Electric Guitar
Lowering your action on an electric guitar is a great way to increase playability and make it easier to play fast. By adjusting the height of the strings off the fretboard, you can create a much smoother playing experience and drastically improve your guitar’s tone. Start by loosening the screws on the bridge saddle and using an allen key to lower it until it’s flush with the body. Next, adjust each string’s height individually by turning its tuning machine head until it’s low enough. Finally, tune your guitar back up, and you should be ready to go! Be sure to check that your strings are still buzzing against any frets when you’re done—if they are, try adjusting them further until they’re just right. With a few simple adjustments you’ll be able to enjoy a much better playing experience!
Lowering Your Action on the Electric Guitar
If you’re looking for a way to improve your overall sound and playability on the electric guitar, lowering the action can make a huge difference. Lowering your action is a relatively simple process that requires adjusting the truss rod, bridge height, and string height. Start by loosening the truss rod to lower the amount of tension on the neck, then adjust the bridge height to reduce the distance between strings and frets. Finally, adjust each string’s individual height by turning its tuning key until it’s in tune with its desired pitch.
To ensure optimal results, use a ruler or other measuring device to gauge string height as you go along. It’s also important to check your neck relief periodically. If it’s too high or too low, use a capo or an adjustable wrench to make adjustments until it’s at an appropriate level for your playing style. Once everything is set up correctly, you can enjoy improved intonation and better overall playability.
Lowering Your Action on the Electric Guitar
Lowering your action on the electric guitar is a great way to improve your sound and playability. The action is the distance between the strings and fretboard, and if it’s too high, it can make playing difficult and cause buzzing. One of the simplest ways to lower your action is to choose lighter gauge strings. Lighter gauge strings are thinner than heavier gauge strings, which makes them easier to press down onto the fretboard. The lower tension of lighter gauge strings also allows you to bring your action down without affecting intonation or creating buzz.
When choosing lighter gauge strings, make sure they match up with your guitar’s bridge, neck, and tuning pegs. You should also consider how much sustain you want from your guitar; lighter gauge strings will have less sustain than heavier ones. As always, it’s best to experiment with different gauges until you find one that works for you and achieves the desired action level for your guitar. The right set of strings can make a huge difference in how well you’re able to play.
Final Words
Lowering your action on the electric guitar is a great way to improve the playability of your instrument and help you get comfortable playing. It’s important to do it correctly, so be sure to follow the steps listed above and adjust the truss rod, bridge saddle height, and nut slots as necessary. The key is to take it slow and make adjustments in small increments until you get your desired result. With some patience and practice, you’ll be able to enjoy a more comfortable playing experience.


