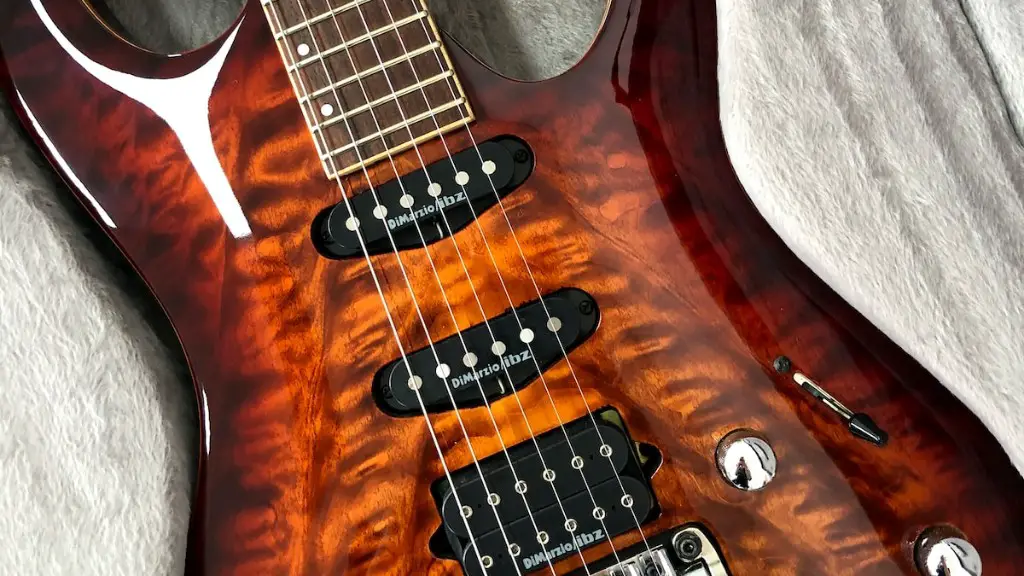
Checking the neck relief on an electric guitar is an important part of the set-up process. Neck relief is the amount of curvature in the neck; too little or too much can significantly affect how your guitar plays and sounds.
In this article, you’ll learn how to check neck relief on an electric guitar. You’ll need a capo, a ruler, and a few tools.
Start by putting your capo on the first fret and checking the gap between the bottom of the string and top of the 8th fret with your ruler. The gap should be between .010″ and .015″. If it’s too large or too small, you will need to adjust the truss rod on your guitar to bring it within specification.
Once you’ve set up the neck relief properly, be sure to check intonation and tuning. This will ensure that your guitar is playing in tune all over the fretboard. To get optimal performance out of your instrument, it’s important to get these settings right.
Measuring the Neck Relief
Measuring the neck relief of an electric guitar is a simple process that requires only a few tools. The most important tool is a steel ruler or straightedge, which should be placed along the length of the fingerboard. If the gap between the ruler and the string is bigger at the middle than at either end, then there is too much neck relief. To fix this, you’ll need to adjust the truss rod. The truss rod is located inside the neck and can be adjusted to make it straighter.
Next, check how far your strings are from the frets when played at the 12th fret. Each string should be just barely touching its own fret without actually causing any buzzing. If they’re too high, you’ll need to loosen your truss rod; if they’re too low, tighten it up a bit. You may want to adjust your bridge saddle height as well if needed.
Finally, remember to tune your guitar back up after making your adjustments! With these simple steps, you’ll soon have an electric guitar with perfect neck relief and smooth playability.
Adjusting the Truss Rod
Adjusting the truss rod of your electric guitar is an important part of maintaining your instrument. It helps to keep your neck in proper alignment, allowing it to properly intonate and remain in tune. Checking the neck relief is an important step when adjusting the truss rod, as it will help you determine how much tension is needed for optimal playability. To check neck relief, first rest a capo on the first fret and press down on the last fret. You should be able to slide a small feeler gauge between the string and 7th or 8th fret without any buzzing. If there is too much space, then you will need to tighten the truss rod; if there is too little space, then you will need to loosen it. Make sure to test out your guitar’s response after each adjustment. It’s also important to note that adjusting the truss rod requires patience and care as too much tension can damage your instrument.
Checking Fret Height
Checking the fret height on an electric guitar is an important step for maintaining the instrument. Proper fret height will ensure that the strings are easy to press down and that the action is comfortable for playing. To check the fret height, first check the neck relief. Place a capo at the first fret and measure the distance between the bottom of the string and the top of the 8th fret. It should measure about 0.010-0.014 inches for good playability. If it is too high, you’ll need to adjust it by loosening or tightening truss rod. Be sure to make small adjustments; too much can cause permanent damage. Measure again after each adjustment until you get it right. Once your neck relief is set properly, use a feeler gauge to check each individual fret along the neck and level them out if necessary. This will ensure your frets are even and that your strings are all in alignment with each other, giving you even performance all along your guitar’s neck.
Measuring String Action on Electric Guitar
Checking the neck relief on an electric guitar is an important part of maintaining the instrument. Neck relief is the amount of curvature in the neck when a string is pressed down at the highest fret. Too much relief can cause buzzing, while too little can make it hard to press down strings. To measure neck relief, you will need a ruler and a capo. Start by attaching the capo at the first fret and then pressing down on the low E string at the last fret. Measure from the top of the 8th fret to bottom of the string. The measurement should be between 0.010 and 0.012 inches for optimal playability. If it’s more than that, you’ll need to adjust your truss rod; if it’s less, you’ll need to raise your saddle height.
When adjusting truss rods or saddle height, it’s important to make small adjustments and re-measure until you get your desired result. If done properly, you should be able to enjoy playing your electric guitar with lower action and better intonation!
Checking Neck Relief on an Electric Guitar
Having the right neck relief on an electric guitar is essential for achieving great tone and playability. To check the neck relief, you will need a feeler gauge. Feeler gauges are thin strips of metal that come in a variety of sizes and are used to measure narrow gaps. Start by loosening the strings so that you can move the neck freely without putting too much tension on it. Then, place a capo at the first fret and check for relief by inserting your feeler gauge between the bottom of the string and the top of the 7th fret on your guitar. Adjust as needed until you achieve your desired relief.
When adjusting relief, make sure to move slowly and in small increments. Too much or too little relief can affect both tone and playability, so be sure to take your time when making adjustments. Once you have adjusted your neck relief correctly, tighten your strings and enjoy playing with improved sound quality!
Checking Neck Relief on Electric Guitars
Guitarists need to check the neck relief of their instrument from time to time, and a notched straightedge is a useful tool for doing so. Neck relief is the amount of curvature along the length of the fretboard, and is an important factor in how your guitar plays. To check it, place the notched straightedge across all six strings at the same time. The notched edge should fit snugly against each string, and you’ll be able to feel if there are any dips or bumps as you move it up and down. If there are any, adjust your truss rod accordingly until the neck relief is consistent.
Once your neck relief is set correctly, you will have better intonation and action on your guitar. It’s also worth noting that different playing styles may require more or less neck relief; for example, slide guitar players may need more relief than fingerstyle players. Check your neck relief regularly and make adjustments when necessary to ensure that your electric guitar performs its best!
To Sum It All Up
Checking the neck relief on an electric guitar is not a complicated process. The most important steps are to ensure that the strings are tuned correctly, use a capo to check the action at different frets, and use a feeler gauge to measure the gap between the strings and fretboard. It’s also important to remember that your guitar may need some adjustments if it has been out of tune or if the temperature or humidity levels have changed significantly. Having a properly adjusted neck relief will ultimately result in better playability and improved sound quality.


